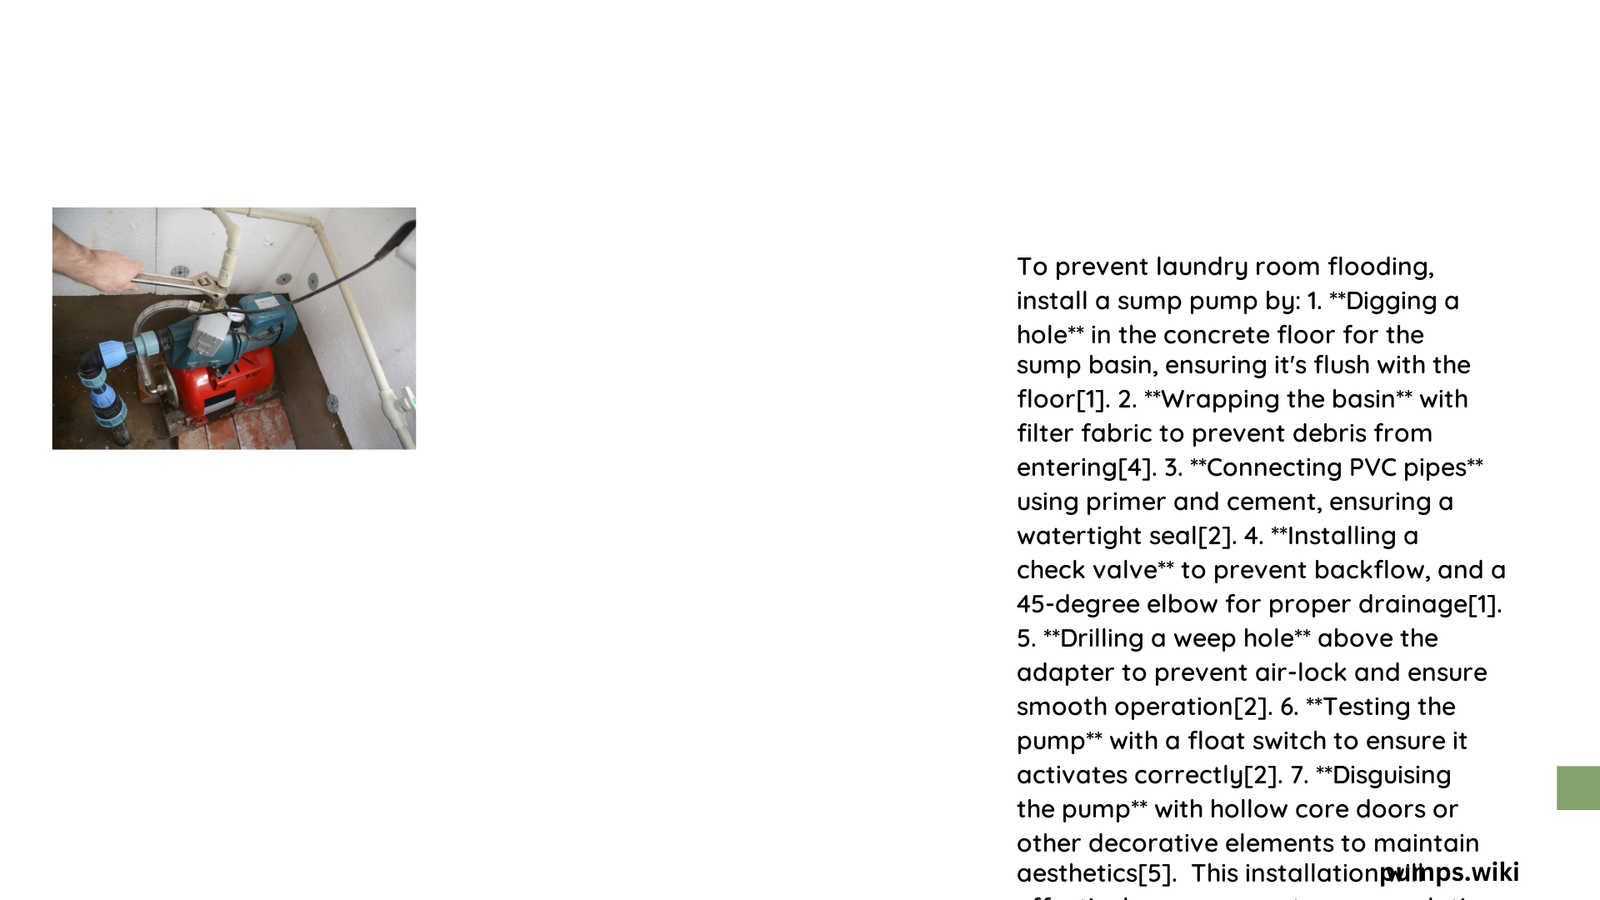
Laundry room flooding can cause extensive damage to your home’s infrastructure, leading to costly repairs and potential mold growth. Installing a sump pump is a critical preventive measure that helps manage water accumulation, protects your property, and provides peace of mind. This comprehensive guide will walk you through the entire process of laundry room flooding install sump pump, ensuring you have the knowledge and confidence to protect your home from water-related disasters.
Why Do Laundry Rooms Flood?
Laundry rooms are particularly susceptible to water-related issues due to several factors:
| Potential Flooding Causes | Risk Level |
|---|---|
| Washing Machine Overflow | High |
| Pipe Leaks | Medium |
| Drainage System Failures | High |
| Groundwater Seepage | Low-Medium |
What Causes Water Accumulation in Laundry Rooms?
Water accumulation in laundry rooms can result from multiple sources:
- Washing Machine Malfunctions
- Damaged water supply lines
- Faulty drain hoses
-
Overloading washing machines
-
Plumbing Issues
- Cracked or corroded pipes
- Improper installation
-
Inadequate drainage systems
-
External Water Pressure
- Heavy rainfall
- Groundwater table fluctuations
- Poor exterior drainage
How to Select the Right Sump Pump?

When choosing a sump pump for your laundry room, consider these critical factors:
Pump Capacity Requirements
- Horsepower: 1/3 to 1/2 HP recommended
- Gallons Per Minute (GPM): 30-55 GPM
- Vertical Lift: 10-15 feet
Recommended Sump Pump Models
- Zoeller M53
- 1/3 HP
- 43 GPM capacity
-
Reliable vertical float switch
-
Zoeller 105
- 1/2 HP
- 55 GPM capacity
- Suitable for larger spaces
Step-by-Step Sump Pump Installation
What Tools Will You Need?
Essential tools for laundry room sump pump installation:
- Drill with 3/16-inch bit
- Plastic sump pump basin
- Wet/dry vacuum
- PVC primer and solvent
- Adjustable pipe wrench
- Utility knife
- Rubber coupling boot
How to Prepare the Sump Pit?
- Measure and dig a hole wide and deep enough for the basin
- Ensure the top edge sits flush with the floor
- Clean the pit thoroughly
- Level the surface for proper pump placement
What Are the Installation Steps?
Pump Placement
- Position the pump in the basin
- Ensure float switch moves freely
- Verify level installation
Piping Connection
- Attach PVC discharge piping
- Use primer and solvent for secure connections
- Cut piping to required length
- Create external drainage route
How to Test the Sump Pump?
- Partially fill the basin with water
- Verify automatic pump activation
- Check water drainage efficiency
- Inspect all connections
Maintenance Best Practices
How Often Should You Check Your Sump Pump?
- Quarterly visual inspections
- Biannual comprehensive testing
- Annual professional evaluation
What Maintenance Steps Are Critical?
- Clean the sump pit
- Test float switch functionality
- Inspect discharge pipes
- Verify electrical connections
- Check for potential blockages
Potential Challenges and Solutions
| Challenge | Solution |
|---|---|
| Pump Failure | Backup battery system |
| Frequent Cycling | Adjust float switch |
| Noise Issues | Install sound-dampening materials |
Cost Considerations
What Will Installation Cost?
- Sump Pump: $100-$500
- Professional Installation: $500-$1,500
- Additional Materials: $100-$300
Final Recommendations
Protecting your laundry room from flooding requires proactive measures. A well-installed sump pump can save thousands in potential water damage repairs.
Pro Tip: Always consult a professional if you’re uncertain about any installation steps.
