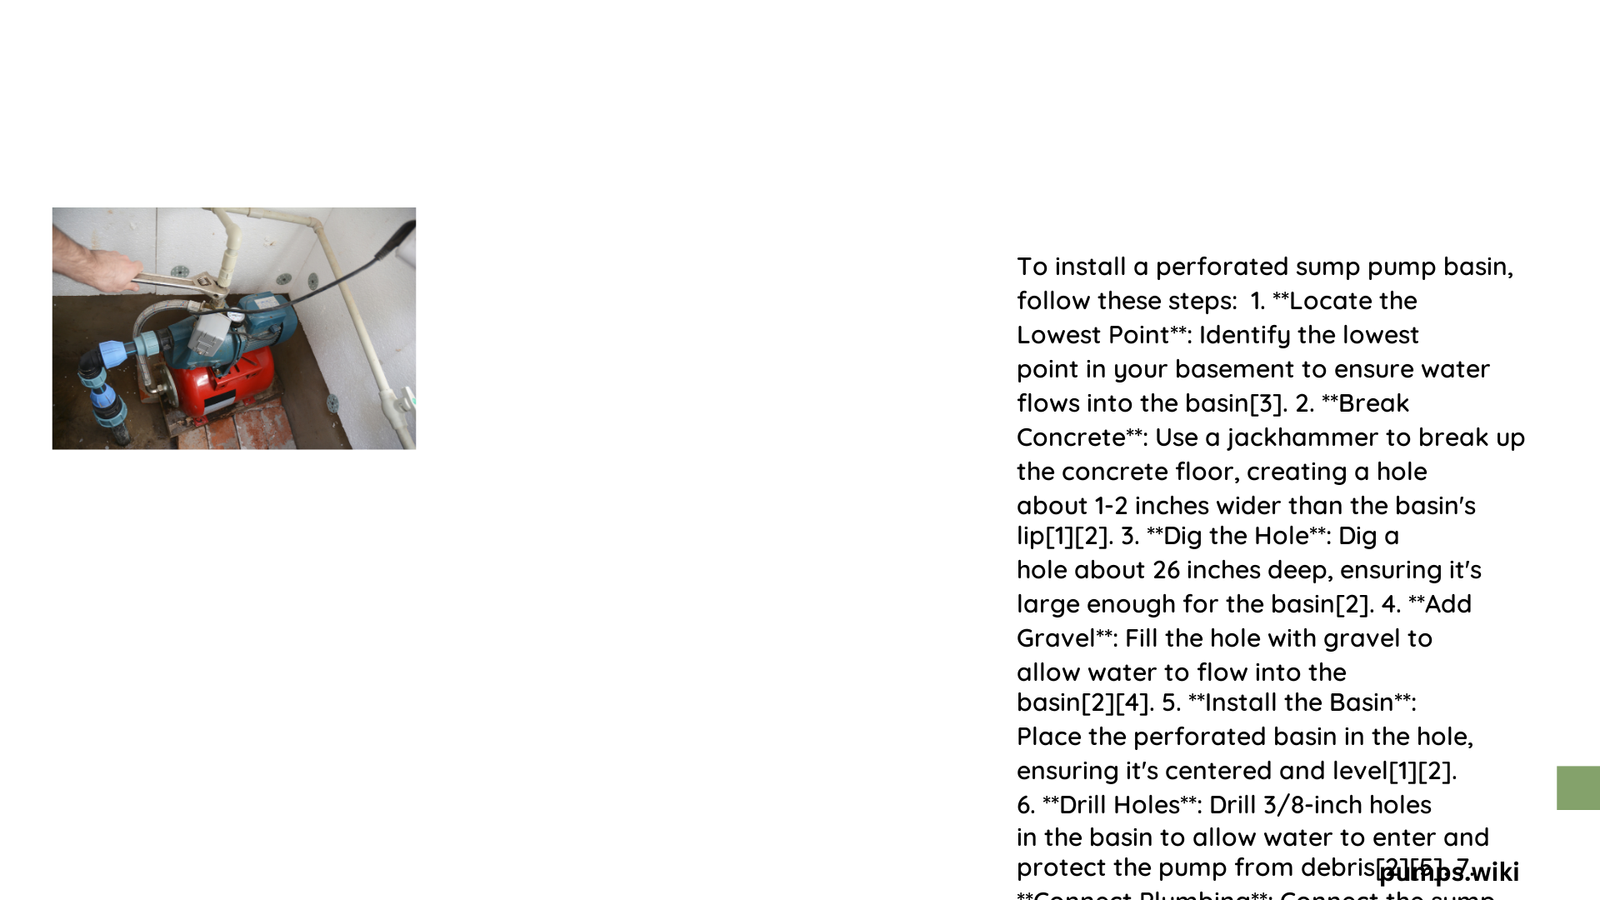
Perforated sump pump basin installation is a critical home waterproofing technique designed to effectively manage groundwater and prevent basement flooding. This comprehensive process involves strategically placing a specialized basin with multiple drainage holes to collect and redirect water away from your home’s foundation, ensuring a dry and protected living environment. Proper installation requires careful planning, precise execution, and understanding of specific technical requirements.
What Makes Perforated Sump Pump Basin Unique?
Perforated sump pump basins differ from standard basins through their innovative design featuring multiple small holes that allow water infiltration from various angles. These specialized basins maximize water collection efficiency and provide superior drainage capabilities compared to traditional solid-wall alternatives.
Why Choose a Perforated Sump Pump Basin?
| Feature | Benefit | Performance Impact |
|---|---|---|
| Multiple Perforations | Enhanced Water Collection | 40-60% Increased Drainage |
| Flexible Design | Adaptable to Various Soil Conditions | Improved Water Management |
| Durable Materials | Long-Term Reliability | Reduced Maintenance Costs |
How to Prepare for Perforated Sump Pump Basin Installation?

Site Assessment Checklist
- Evaluate Ground Conditions
- Measure water table depth
- Analyze soil composition
-
Determine drainage patterns
-
Select Appropriate Basin
- Measure available space
- Consider basement dimensions
- Choose compatible pump size
What Tools Will You Need?
- Shovel
- Level
- Tape measure
- Gravel
- Drainage fabric
- Protective gloves
- Safety glasses
Step-by-Step Perforated Sump Pump Basin Installation Process
How Deep Should the Basin Be Installed?
Typical installation depths range between 22-36 inches, depending on local groundwater conditions. The basin should extend below the frost line to prevent freezing and ensure consistent performance during winter months.
Critical Installation Steps
- Excavate Precise Location
- Dig hole slightly larger than basin dimensions
- Ensure level and stable foundation
-
Remove any debris or sharp objects
-
Prepare Basin Foundation
- Add 3-4 inches of gravel base
- Compact gravel for stability
-
Ensure perfect horizontal alignment
-
Position Basin Carefully
- Lower basin into prepared hole
- Verify level using professional-grade bubble level
- Allow minimal side-to-side movement
What Challenges Might You Encounter?
- High water table
- Rocky or clay-heavy soil
- Limited basement access
- Complex drainage requirements
Professional Tips for Optimal Performance
Maintenance Recommendations
- Inspect basin annually
- Clean perforations periodically
- Check for sediment accumulation
- Verify pump functionality
Cost Considerations
- Average basin cost: $100-$300
- Professional installation: $500-$1,500
- DIY potential savings: 40-60%
Technical Specifications to Consider
Basin Material Options
- Polyethylene
- Fiberglass
- Concrete
- Composite materials
Performance Metrics
- Water collection rate
- Perforation density
- Material durability
- Temperature resistance
Final Recommendations
Successful perforated sump pump basin installation requires meticulous planning, proper tools, and understanding of local geological conditions. While DIY is possible, complex scenarios might necessitate professional expertise.
References:
– Jackel Sump Basin Specifications
– Basement Waterproofing Guidelines
– Metropolitan Pump Product Details
