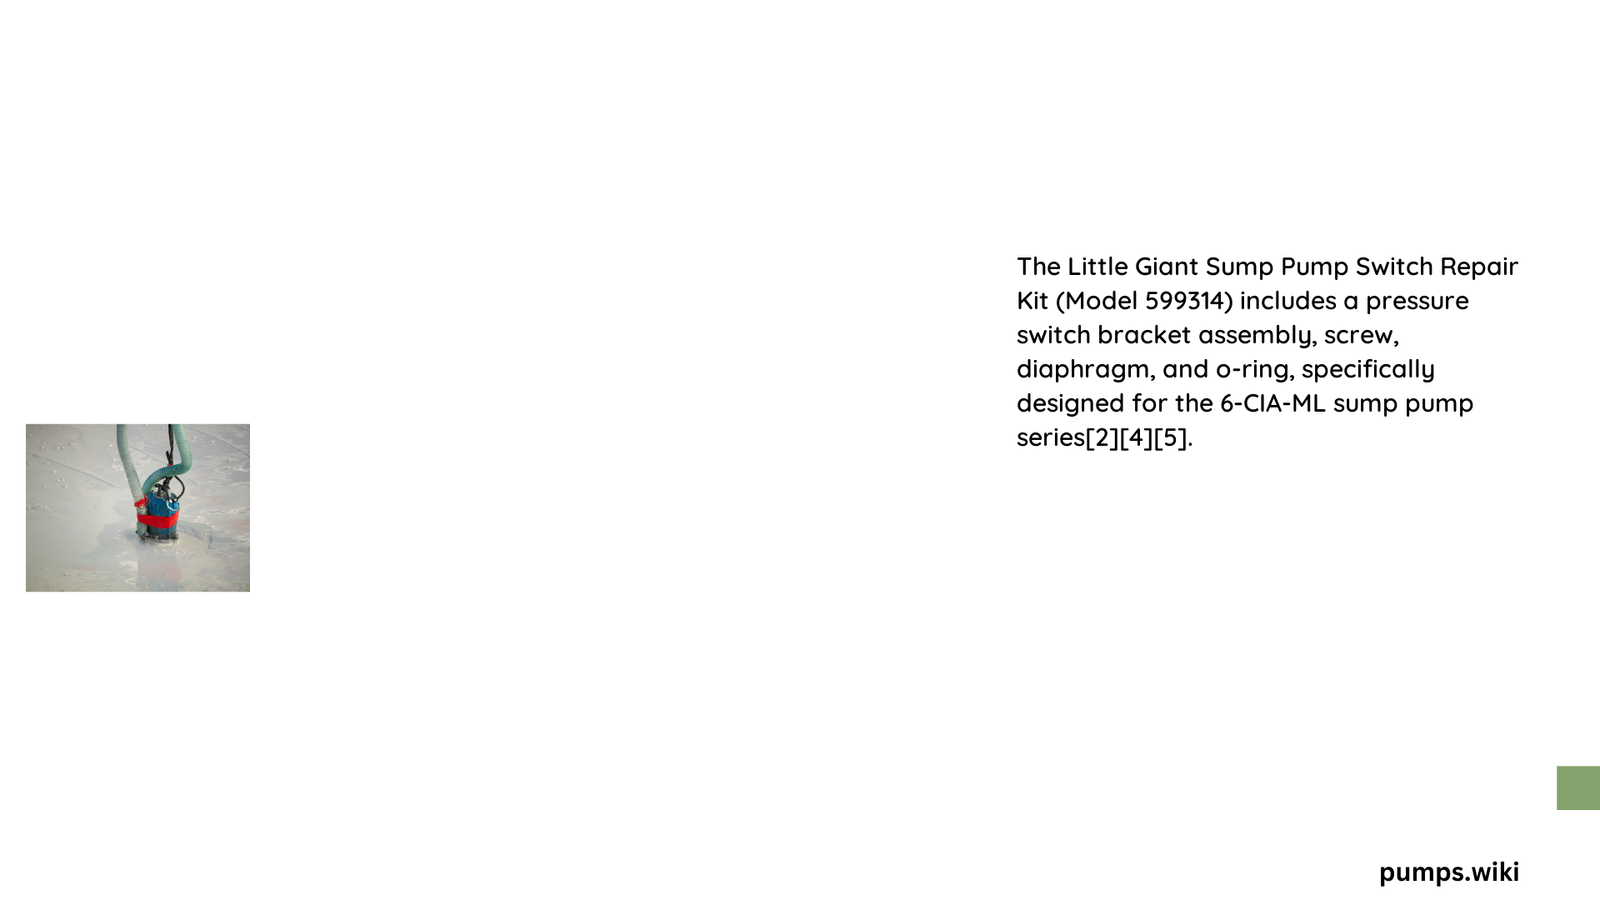
The Little Giant sump pump switch repair kit is a critical component for maintaining efficient water removal systems in residential and commercial settings. These specialized kits provide homeowners and professionals with precise replacement parts to restore sump pump functionality, addressing common switch failures and ensuring reliable water management. Designed for specific Little Giant pump models, these repair kits include essential components like pressure switch bracket assemblies, diaphragms, o-rings, and mounting hardware.
What Makes Little Giant Sump Pump Switch Repair Kit Essential?
Sump pump switches are vulnerable to wear, corrosion, and mechanical stress. The Little Giant sump pump switch repair kit offers a targeted solution for maintaining pump performance, preventing water damage, and extending equipment lifespan.
What Components Are Included in the Repair Kit?
The repair kits typically include:
| Component | Function |
|---|---|
| Pressure Switch Bracket | Provides mounting and alignment |
| Diaphragm | Controls switch activation mechanism |
| O-ring | Ensures proper sealing and prevents leaks |
| Screws | Secure components during installation |
How to Identify the Correct Repair Kit?
Compatibility Factors
- Pump model number
- Existing switch configuration
- Housing requirements
Which Repair Kit Matches Your Sump Pump?
SPRK-1 (599300)
- Compatible Pumps:
- 6-CIA
- 8-CIA
- 8-CBA
- Includes Housing: Yes
- Average Price: $47.58
SPRK-1-ML (599310)
- Compatible Pumps:
- 6-CIA-ML (WRSC-6)
- Includes Housing: Yes
- Average Price: $64.34
What Are Common Switch Failure Symptoms?
Recognizing switch problems early prevents potential water damage:
- Pump not turning on/off automatically
- Inconsistent water level management
- Unusual pump cycling
- Strange mechanical noises
- Visible switch component damage
How to Diagnose Switch Issues?
Diagnostic Checklist
- Verify power supply
- Inspect diaphragm condition
- Check o-ring integrity
- Test electrical connections
- Measure switch activation pressure
What Tools Are Required for Replacement?
Essential tools include:
– Screwdriver
– Pliers
– Adjustable wrench
– Multimeter
– Safety gloves
Step-by-Step Replacement Process
- Power Disconnection
- Shut off electrical supply
-
Unplug pump from power source
-
Old Switch Removal
- Disconnect electrical connections
- Remove mounting screws
-
Extract existing switch assembly
-
New Switch Installation
- Clean mounting area
- Position new bracket
- Install diaphragm and o-ring
- Secure with provided screws
-
Reconnect electrical connections
-
Functional Testing
- Restore power
- Verify switch activation
- Check pump cycling
Maintenance Tips
- Annual switch inspection
- Keep switch area clean
- Monitor pump performance
- Replace kit proactively every 3-5 years
Potential Cost Savings
Timely switch repair can prevent:
– Basement flooding
– Pump motor replacement
– Structural water damage
– Mold growth
Conclusion

The Little Giant sump pump switch repair kit provides a precise, model-specific solution for maintaining critical water management systems. By understanding compatibility, following proper installation techniques, and performing regular maintenance, homeowners can ensure reliable sump pump operation.
