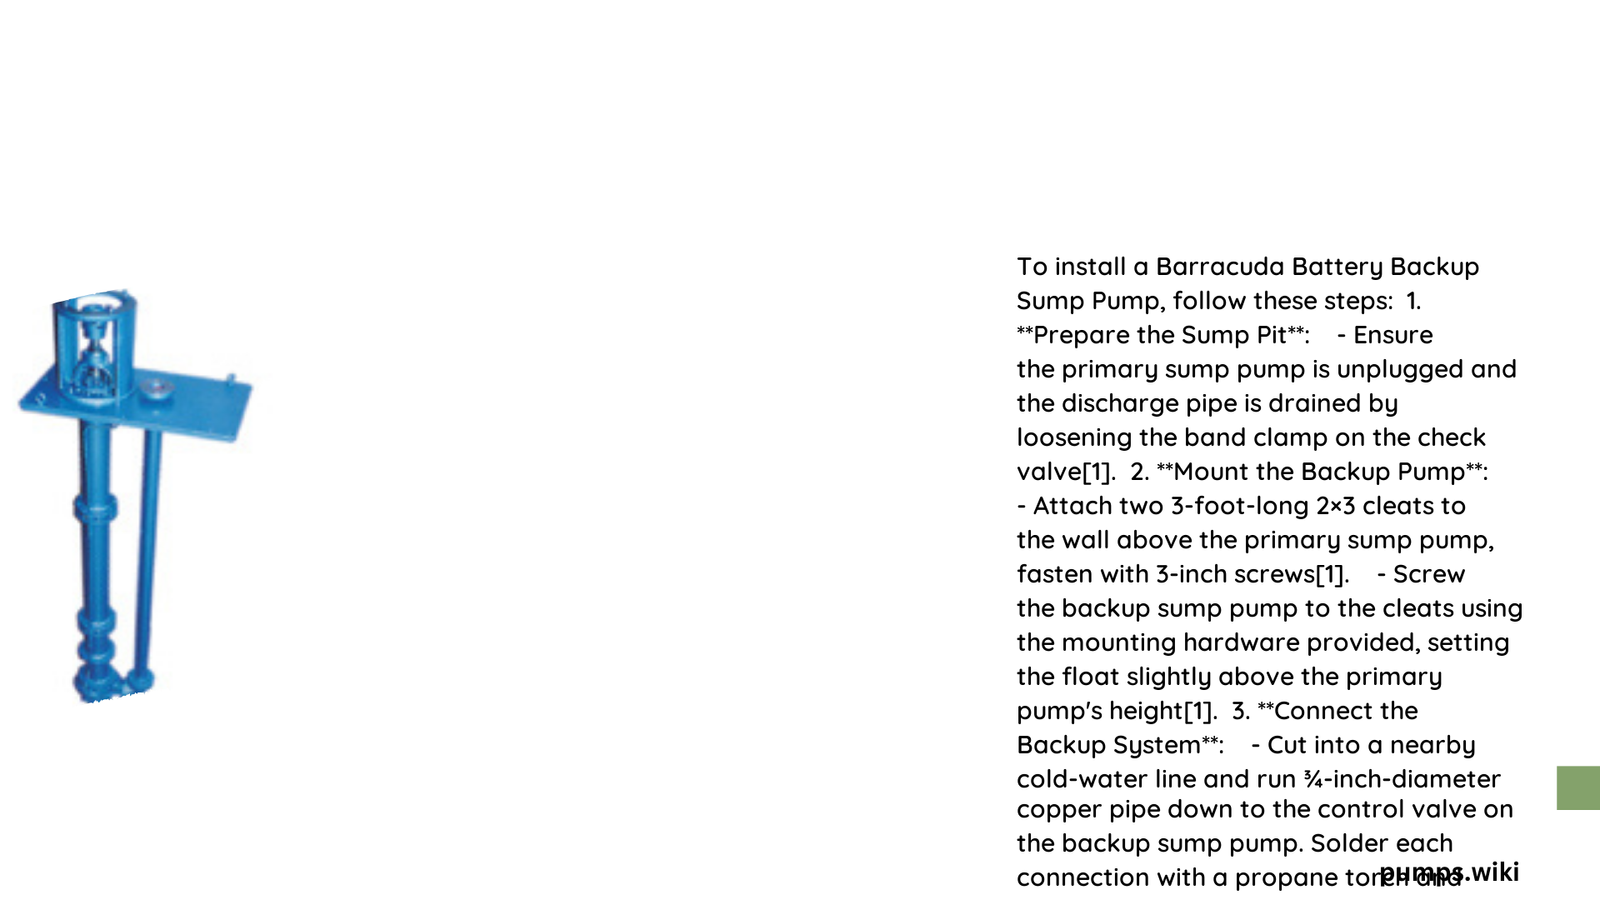
Installing a Barracuda backup sump pump is a crucial step in protecting your home from water damage. This guide provides a detailed walkthrough of the installation process, including necessary tools, materials, and step-by-step instructions. By following this guide, homeowners can ensure proper installation and optimal performance of their Barracuda backup sump pump system.
What is a Barracuda Backup Sump Pump?
A Barracuda backup sump pump is a secondary pump system designed to activate when the primary sump pump fails or is overwhelmed. It operates on battery power, providing protection during power outages or primary pump malfunctions. This system is essential for homes in flood-prone areas or those with basements susceptible to water intrusion.
What Tools and Materials are Needed for Installation?

Before beginning the installation process, gather the following tools and materials:
Tools:
- PVC pipe cutter
- Drill
- Utility knife
- Handsaw
- 10mm socket or adjustable wrench
- Screwdriver
- Teflon tape
- PVC primer and cement
- Stainless steel hose clamps and hose-clamp connector
- Zip ties
Materials:
- 1.5\” PVC pipe and assorted fittings
- Check valve
- 45° Street Elbow
- Wye fitting
- Female Adapter
- U-Bolts, Clamps, washers, and nuts
- Float switch and clamp
- Deep-cycle 12-volt marine battery with protective box
- Trickle battery charger
How to Prepare the Sump Pit?
- Ensure the sump pit is at least 18\” in diameter and 24\” deep.
- Clean the pit of any debris or sediment.
- Check that the primary pump is functioning correctly and properly positioned.
What are the Steps to Install the Backup Pump?
- Attach Backup Pump to Primary Discharge Pipe:
- Cut into the existing discharge pipe leading from the primary sump pump.
- Use a 1.5\” Female Adapter, 45° Street Elbow, and a Wye fitting to plumb the backup pump to the primary pump piping.
-
Attach the backup pump using two U-Bolts, Clamps, washers, and nuts. Position the pump near the water level marked in the previous step.
-
Install Check Valves:
- Ensure a check valve is installed on both the backup pump and the primary pump.
-
The primary pump check valve must be located below the junction where the backup and primary piping meet to prevent backflow.
-
Connect Discharge Pipe:
- Use PVC primer and cement to clean and solvent-weld the plastic pipe and fittings together.
-
Connect the pump assembly to the discharge pipe using either a flexible coupling with clamps or a solvent weld PVC or ABS coupling.
-
Secure Float Switch:
- Attach the float switch to the discharge pipe using the provided clamp.
- Adjust the tether length so the backup pump turns on when the water level rises above the start level of the primary pump.
-
Ensure the \”on\” level does not exceed the top of the basin and maintain at least a 2\” clearance from the top.
-
Wiring Connections:
- For a 12V battery setup, connect the backup pump to the battery.
- Ensure the trickle battery charger is connected to keep the battery fully charged.
How to Test the Installation?
- Unplug or disconnect the power to the primary pump.
- Fill the basin using buckets or a hose.
- Observe the float switches to ensure they are positioned properly.
- Fill the basin until the backup float activates the alarm and the pump starts to drain the basin.
- Make any necessary adjustments to the float(s) and/or pumps at this time.
What are Critical Installation Points to Consider?
| Aspect | Consideration |
|---|---|
| Positioning | Install the backup pump efficiently without interfering with the primary pump or other components. |
| Electrical Requirements | Use a GFCI outlet for the primary pump if electric. Properly connect and maintain the 12V battery setup with a trickle charger for the backup pump. |
| Proper Drainage | Direct the discharge pipe away from the home to prevent water accumulation near the foundation. |
How to Troubleshoot Common Issues?
- Improper Float Activation:
- Adjust the float switch to activate within the recommended range (6-12 inches).
-
Ensure the float switch doesn’t contact the sides of the basin or the primary pump.
-
Potential Leaks at Pipe Joints:
- Inspect all pipe joints and connections for leaks.
- Use PVC primer and cement to ensure a tight seal.
-
If leaks are found, disassemble the affected area, clean it, and reassemble with new primer and cement.
-
Electrical Failures:
- Check circuit breakers and ensure the primary pump is receiving power.
- For the backup pump, check the battery status and ensure the trickle charger is functioning correctly.
- If the battery voltage drops below 10.8 volts, the alarm will sound, indicating the need to recharge or replace the battery.
By following this comprehensive guide, homeowners can successfully install a Barracuda backup sump pump, ensuring their property remains protected from potential water damage. Regular maintenance and testing of both the primary and backup systems will help guarantee long-term reliability and peace of mind.
References:
1. INSTALLATION AND OPERATION INSTRUCTIONS FOR 12 VOLT BATTERY BACK-UP SYSTEM
2. OWNER’S MANUAL – Tractor Supply
3. How to Install a Battery-Operated Backup Sump Pump – YouTube
